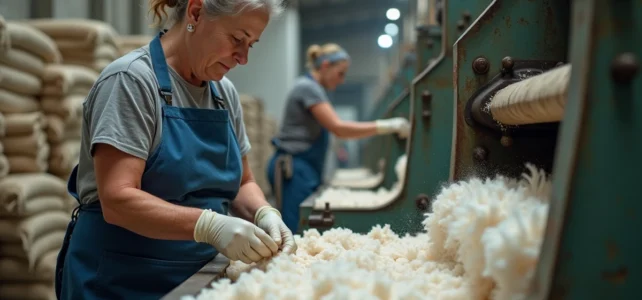
The textile manufacturing process is not limited to four major steps outlined in a pedagogical diagram. Between the raw fiber and the shipped product, there are dozens of technical decisions that determine the fabric’s durability, its compliance with specifications, and its longevity. Here, we detail the links that general presentations overlook.
Quality control of fabric before cutting: the link that the industry has formalized
The transition between finishing and cutting is no longer direct. In export-oriented factories, a structured step of laboratory tests and metric inspection has become widespread. Skipping this link means accepting non-conformities that only reveal themselves after production, when the cost of rework skyrockets.
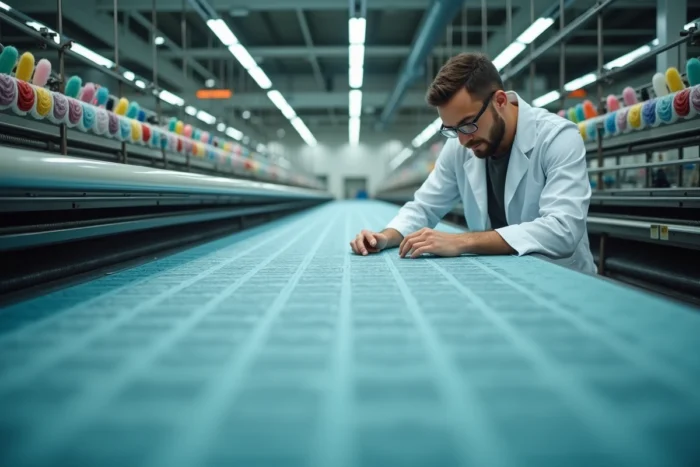
The tests conducted before any production launch cover color fastness (washing, light, rubbing), weight control (GSM), shrinkage testing after washing, and pH measurement. Visual inspection follows the 4-point system, which assigns an increasing penalty based on the length of the defect detected on the roll.
A roll that exceeds the accepted score is rejected or downgraded. This filter stabilizes the upstream process and reduces customer complaints. We recommend treating this step as a standalone item in the production flow, with dedicated personnel and standardized control sheets.
To delve deeper into each phase of the industrial flow, textile manufacturing on Boulevard Mode describes the complete sequencing from fiber to finished product.
Textile sampling sequence: proto, fit, and PP sample
Modern manufacturing flows no longer transition from pattern making to mass production with just one intermediate prototype. The sequence of proto sample, fit sample, pre-production sample has established itself as an industry standard, particularly for clients producing internationally.
The proto sample validates the concept and general proportions. It is cut from a similar fabric (not necessarily the final fabric) and sewn with wide tolerances. Its role is to confirm the volume, drape, and lines of the model.
The fit sample corrects dimensional discrepancies. It uses the final fabric, and each measurement is compared to the grading chart. It is at this stage that the workshop adjusts darts, seam placements, and the value of safety stitches.
The PP sample (pre-production) reproduces the exact conditions of the series: same fabric, same supplies, same assembly line. It serves as a visual and dimensional reference throughout production. Skipping the PP sample means launching the series without a compliance benchmark.
Cutting preparation and layering: precision of placement
The cutting process accounts for the largest material loss in the entire textile chain. An optimized placement can vary fabric consumption by several percentage points on the same order.
Layering (stacking layers of fabric on the cutting table) requires constant tension control. Too much tension distorts the lower layers and generates dimensional discrepancies after cutting. We still observe workshops that neglect the alignment of selvages, which misaligns the grainline and compromises the drape of the finished garment.
- The CAD (computer-aided design) placement calculates the optimal nesting of pattern pieces to minimize waste, taking into account the fabric direction and pattern matching.
- The number of layers in the stack depends on the fabric thickness, blade power, and batch size. A stack that is too thick causes the blade to deviate and produces out-of-tolerance pieces at the bottom of the pile.
- Post-cutting dimensional control (template checking or direct measurement) remains the only way to detect drift before the pieces go to stitching.
Assembly in the workshop and management of the stitching flow
Assembly by stitching represents the most labor-intensive phase. The productivity of a stitching line depends less on the speed of operators than on the balancing of workstations.
Each operation (overlocking, cover stitch, collar application, side closing) has a standard time. If one station takes twice as long as the previous one, pieces accumulate upstream and downstream operators are left waiting. Balancing involves redistributing operations so that each station works at a comparable pace.
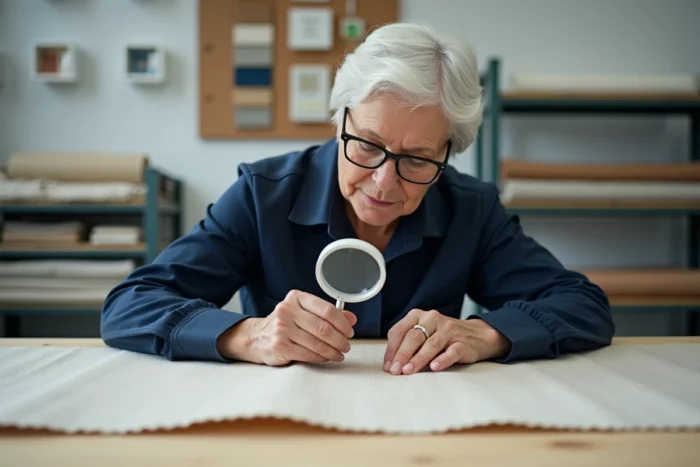
High-performing workshops measure the Overall Equipment Effectiveness (OEE) of the line, which incorporates actual production time, machine downtime, and rework. A low OEE signals an organizational problem, not necessarily a lack of skill.
Finishing and packaging
Industrial ironing, final piece-by-piece inspection, and labeling (composition, size, country of manufacture) constitute the last steps before packaging. The final inspection often applies a statistical sampling plan (AQL) that defines the number of pieces to inspect per batch and the acceptable defect threshold.
A critical defect (hole, stain, out-of-tolerance measurement) results in the rejection of the piece. A minor defect (uncut thread, slight sewing asymmetry) is counted but tolerated within the threshold limit. The chosen AQL level directly conditions the return rate after delivery.
Textile manufacturing remains a series of compromises between material cost, speed, and accepted quality level. Each link in the flow, from fabric control to packaging, impacts the final result. A workshop that formalizes its intermediate control points may appear to produce more slowly, but delivers more compliant batches and reduces its non-quality costs in the long term.